This 1950's house came complete with a red fireplace (which was previously gray, I believe) and I knew something had to be done about it, but I didn't wanna venture too far into the unknown, so paint is where it starts!
When we looked at the house, the fireplace looked like this. There was no shutoff valve for the gas line, no liner, just lots and lots of red. Since I've had pinterest for quite a while, I knew that painting a fireplace wasn't a big deal. One thing that pinterest doesn't really show is painting a stone fireplace (there are lots of brick ones, but not many stone ones).

We opted for white since it's versatile and clean (but that didn't really need an explanation...). I'm excited to paint the walls even more now that I saw that they weren't really white anyway. The color we chose Lilac Muse, by Valspar. Isaiah has some painting experience, and he prefers either Valspar or Behr Premium. So we just picked one. :) Choosing a white might be even tougher than choosing a color (like, how in the world to you know that you picked the right one???). We picked one that had more gray/beige than blue or pink in it. It should go well with the wall color we've chosen (which should be up after April 12)!

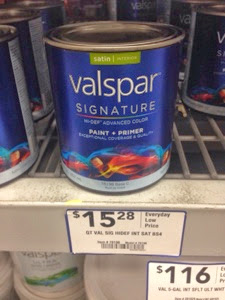
Since the red of the fireplace was pretty hefty, we got some paint+primer together. The project wasn't very big, so we got a quart of Lilac Muse at our local Lowes. The cost was $15.28 for a quart, which I'm pretty sure isn't cheap (at least in the paint world), but that is the price we were willing to pay to not look at that red fireplace anymore! The paint+primer was a great choice for this project, because, honestly, it took one complete coat. The only places that required more were the deep cracks and crevices in the stone and around the mortar. Since I was so excited to tackle this project, I just used a brush, but I think a roller might've been easier. :/ Oh well!
I started with the mantle just to see what the white would look like, then I painted in the cracks. But to be honest, every time I realized that there was a stone that needed paint, I got distracted from the cracks. So the entire thing was covered by the time I finished my "first step." ;)

This is the only "final" picture I have for now, even though I have finished the bottom right next to the tile. It's definitely an improvement! Right now, we have several paint samples on the wall just above the fireplace, so it wasn't accompanied by yellow walls for long!!!
Until next time...
No comments:
Post a Comment